
Unlock The Power Of Remote IoT Monitoring With SSH Download For Mac – Free!
Hey there, tech enthusiasts! If you're reading this, chances are you've been searching for ways to simplify your life by tapping into the world of remote IoT monitoring using SSH on a Mac. Well, buckle up because we're about to dive deep into how you can download and set up a free SSH client for Mac to monitor your IoT devices like a pro. Let's get started, shall we?
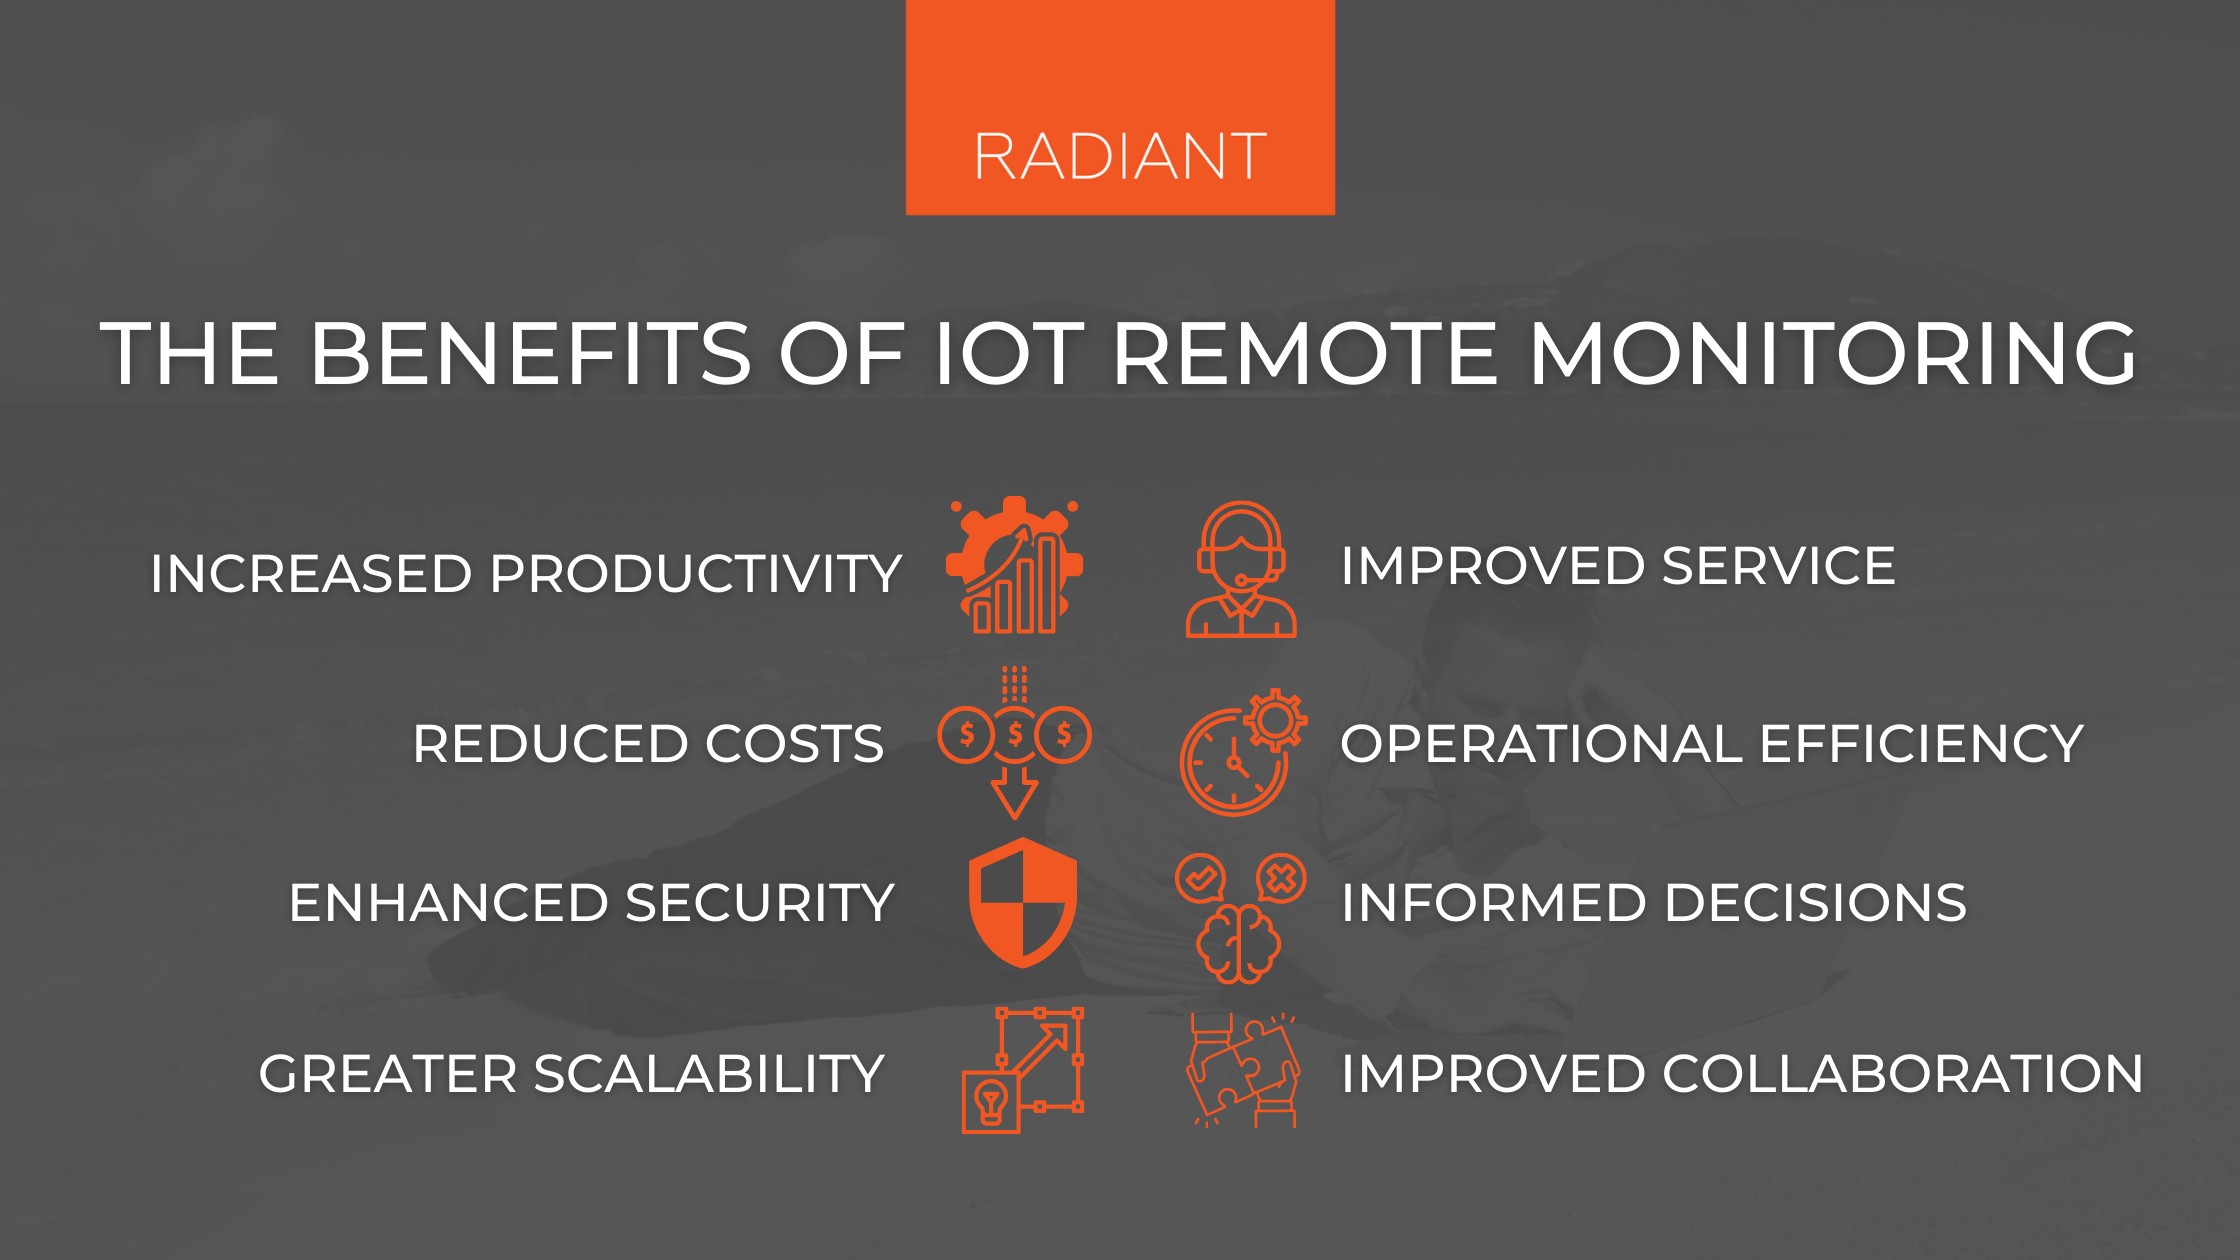
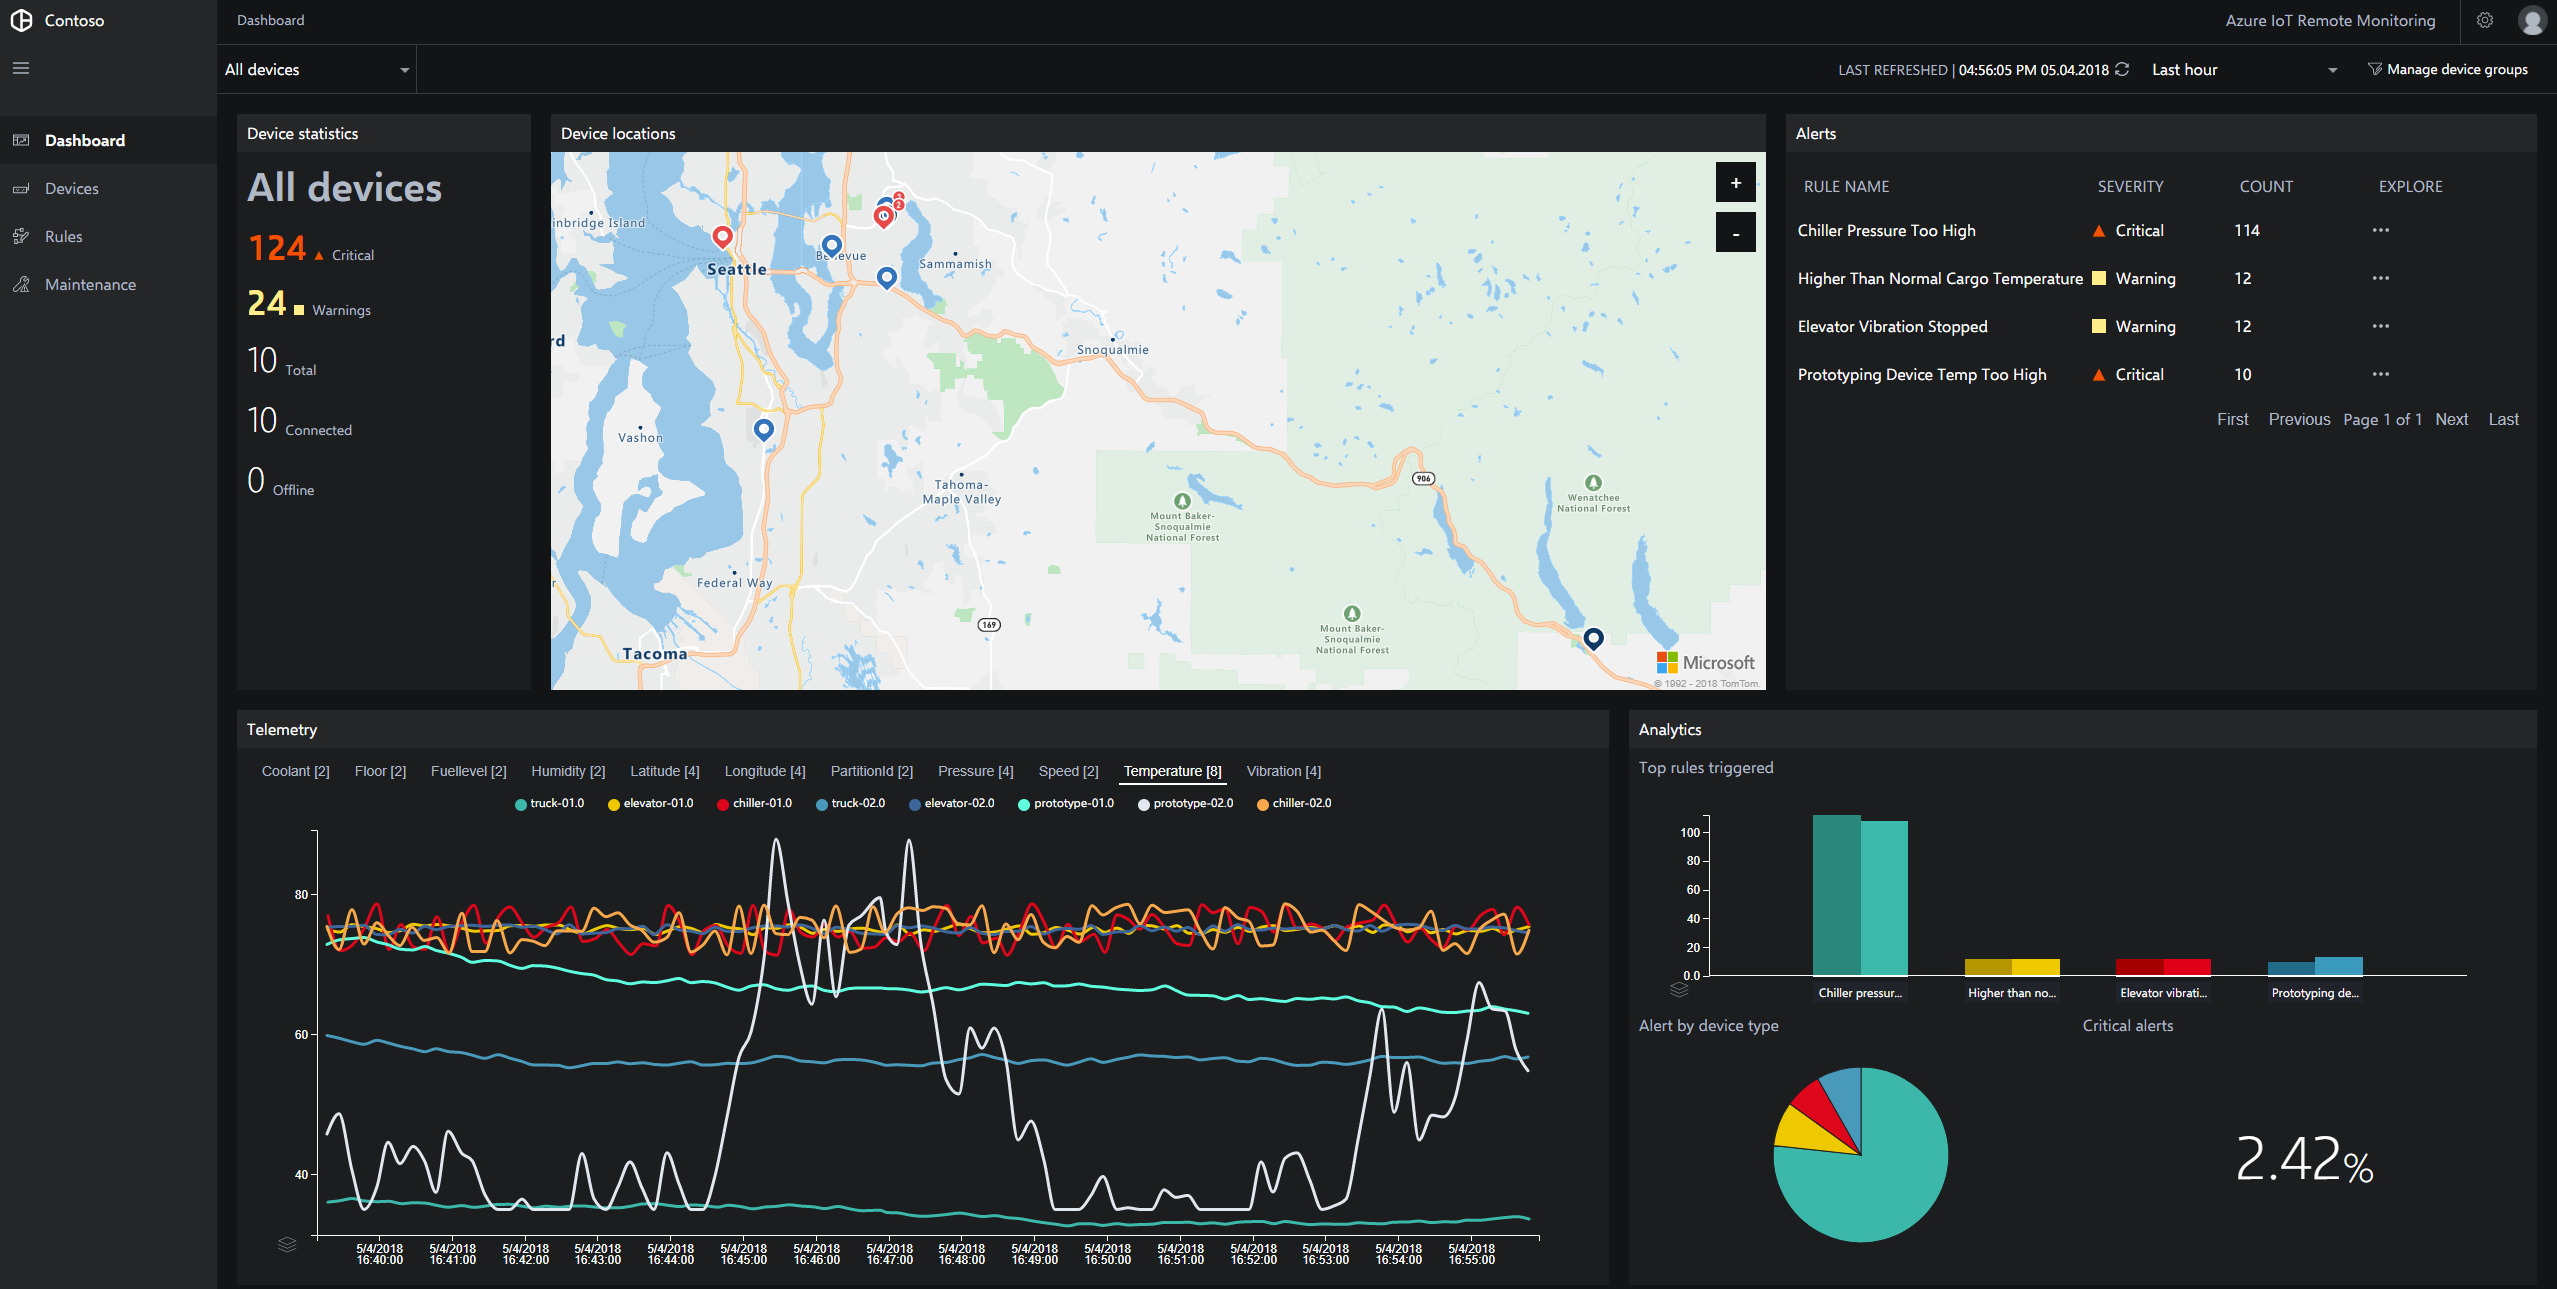
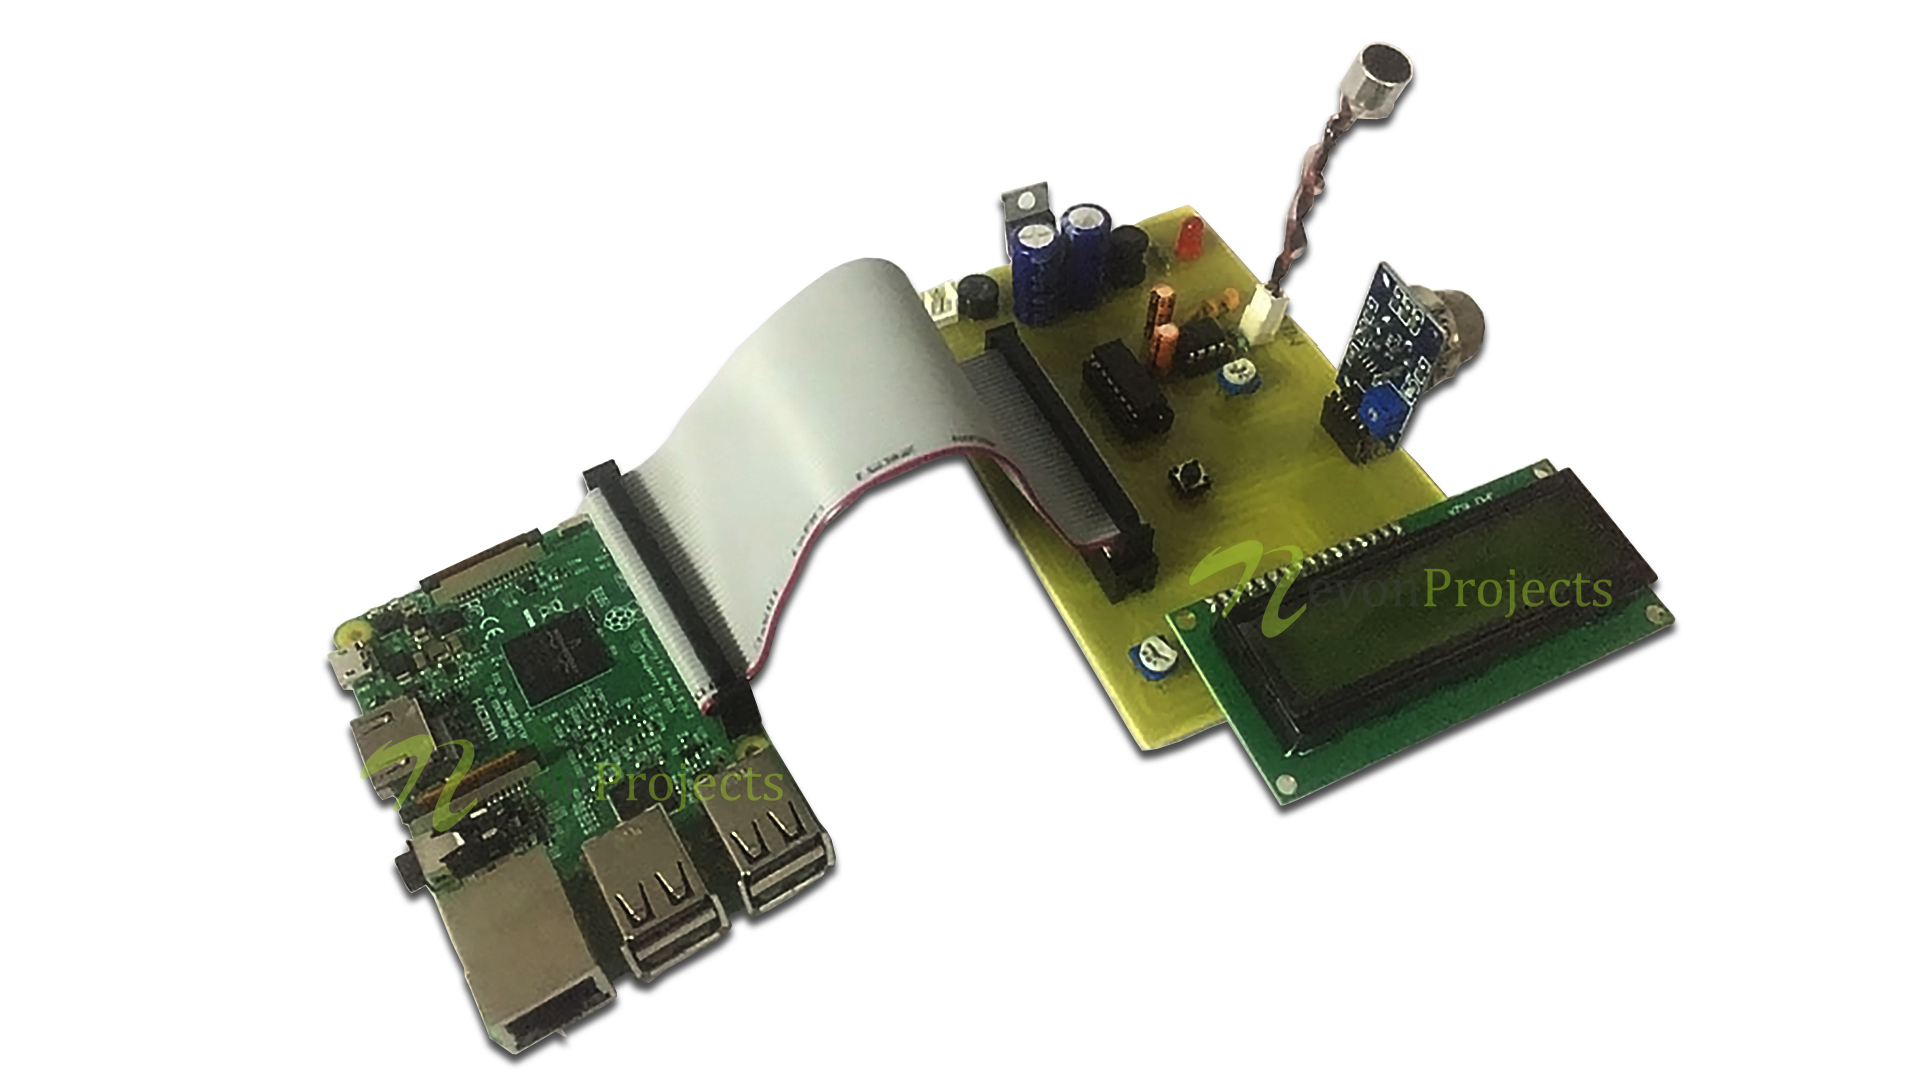
Imagine being able to keep an eye on your smart home devices, industrial sensors, or even remote servers without having to physically be there. That's the magic of IoT combined with SSH. Whether you're a hobbyist tinkering with Raspberry Pi or a professional managing complex networks, remote IoT monitoring is your golden ticket to efficiency.
This guide isn't just another tech jargon-filled article. We're breaking it down for you step by step, so even if you're new to SSH or IoT, you'll leave here feeling like a certified wizard. Stick around because we've got all the answers you're looking for, plus some juicy tips to make your setup smoother than ever.
- Kannada Movies Online Watch Latest Releases Movierulz Updates
- Rosaline Dawnx Leaks Unveiling The Truth Behind The Hype Now
What Exactly is Remote IoT Monitoring with SSH?
Okay, let’s break it down. IoT, or the Internet of Things, is basically a network of devices that talk to each other over the internet. Think smart thermostats, security cameras, or even industrial equipment. Now, remote IoT monitoring is all about keeping tabs on these devices from anywhere in the world. SSH, or Secure Shell, is like a secret tunnel that lets you connect to these devices securely, even when you're miles away.
For Mac users, SSH is already baked into the system. But if you're looking for a more user-friendly way to manage multiple connections, there are plenty of SSH clients out there. The best part? Some of them are free!
Why Choose SSH for Remote IoT Monitoring?
Here's the deal: SSH isn't just any random tool. It's secure, reliable, and super flexible. When you're dealing with IoT devices, security is a big deal. You don't want some random hacker messing with your smart fridge or industrial sensors. SSH encrypts your data, ensuring that only authorized users can access your devices.
- Unveiling Onlyfans Search Issues What Went Wrong
- Vegamovies Alternatives Stream Bollywood Vegan Films More
Plus, SSH gives you full control over your devices. Need to update software or check logs? You can do it all from the comfort of your couch. It's like having a remote control for your entire IoT network.
Benefits of Using SSH for IoT Monitoring
- Highly secure with encryption
- Easy to set up on Mac
- Supports automation scripts
- Accessible from anywhere with an internet connection
- Works seamlessly with a wide range of devices
How to Download SSH Client for Mac – Free Edition
Alright, let's get practical. If you're rocking macOS, you're in luck because SSH is already installed. All you need is the Terminal app, which comes preloaded on your Mac. But hey, not everyone wants to deal with command lines. That's where SSH clients come in.
There are tons of free SSH clients available for Mac. One of the most popular ones is PuTTY (yes, it works on Mac too) or alternatives like Termius or MobaXterm. These tools make life easier by providing a graphical interface instead of forcing you to type commands.
Step-by-Step Guide to Install Free SSH Client
- Head over to the official website of your chosen SSH client (e.g., Termius).
- Download the free version compatible with macOS.
- Install the app by following the on-screen instructions.
- Launch the app and configure your first connection.
Setting Up Remote IoT Monitoring with SSH
Now that you've got your SSH client installed, it's time to set up remote IoT monitoring. This involves configuring your IoT devices to accept SSH connections and setting up the client on your Mac.
Step one is ensuring your IoT devices have SSH enabled. Most modern devices come with SSH pre-installed, but you might need to enable it through the device's settings. Once that's done, you'll need the IP address of the device and the login credentials.
Configuring Your IoT Devices
- Log in to your IoT device's admin panel.
- Enable SSH under network settings.
- Take note of the IP address and port number.
Troubleshooting Common Issues
Let's face it, tech stuff doesn't always go smoothly. Here are some common issues you might encounter and how to fix them:
- Connection Refused: Double-check the IP address and port number.
- Authentication Failed: Make sure you're using the correct username and password.
- Slow Connection: Try optimizing your network settings or switching to a wired connection.
Pro Tips for Smoother Setup
Here are a few insider tips to make your setup process smoother:
- Use static IP addresses for your IoT devices to avoid connection issues.
- Set up SSH keys for passwordless login – trust me, it's a game-changer.
- Regularly update your SSH client and IoT firmware for improved security.
Exploring Advanced Features
Once you've got the basics down, it's time to explore some advanced features. SSH isn't just about connecting to devices; it's also a powerful tool for automation and scripting.
For example, you can write scripts to automatically pull data from your IoT devices at regular intervals. This is especially useful for monitoring environmental conditions or tracking usage patterns.
Automating Your IoT Monitoring
Here's a quick example of how you can use a bash script to automate data collection:
bash
#!/bin/bash
ssh user@iot_device "cat /path/to/sensor_data.txt"> local_data.txt
This script connects to your IoT device, retrieves the sensor data, and saves it to a local file. Easy peasy, right?
Data Security in Remote IoT Monitoring
Security should always be at the forefront of your mind when dealing with remote IoT monitoring. SSH is inherently secure, but there are additional steps you can take to fortify your setup.
- Use strong, unique passwords for each device.
- Enable two-factor authentication wherever possible.
- Regularly audit your connections to detect any unauthorized access.
Best Practices for IoT Security
Here are some best practices to keep your IoT devices safe:
- Keep firmware and software up to date.
- Limit access to trusted devices and users.
- Use encryption for all data transfers.
Real-World Applications of Remote IoT Monitoring
So, why does all this matter? Here are a few real-world applications of remote IoT monitoring:
- Smart homes: Monitor and control lighting, temperature, and security systems.
- Industrial automation: Keep an eye on machinery performance and maintenance needs.
- Agriculture: Track soil moisture levels, weather conditions, and crop health.
Conclusion: Take Control of Your IoT Network Today
There you have it – everything you need to know about remote IoT monitoring with SSH on a Mac. From setting up your first connection to exploring advanced features, this guide has got you covered. Remember, security is key, so always follow best practices to protect your devices.
Now it's your turn. Download that free SSH client, set up your IoT devices, and start monitoring like a pro. And don't forget to share this article with your tech-savvy friends. Who knows, you might just inspire someone else to join the IoT revolution!
Table of Contents
- What Exactly is Remote IoT Monitoring with SSH?
- Why Choose SSH for Remote IoT Monitoring?
- How to Download SSH Client for Mac – Free Edition
- Setting Up Remote IoT Monitoring with SSH
- Troubleshooting Common Issues
- Exploring Advanced Features
- Data Security in Remote IoT Monitoring
- Real-World Applications of Remote IoT Monitoring
- Conclusion: Take Control of Your IoT Network Today
Article Recommendations
Detail Author:
- Name : Otha Shields
- Username : schmeler.carroll
- Email : katlynn.brakus@kuphal.com
- Birthdate : 1982-11-08
- Address : 518 Royce Springs Apt. 319 East Neva, MI 27192
- Phone : 872-548-7758
- Company : Gibson-Hackett
- Job : TSA
- Bio : Non occaecati enim consequatur vero doloribus facilis. Quas ad reiciendis repellendus pariatur voluptates. Quia delectus dolor sit et velit similique quis.
Socials
twitter:
- url : https://twitter.com/conor8539
- username : conor8539
- bio : Accusamus omnis nesciunt qui consequatur. Laborum sit omnis ad. Et neque possimus et.
- followers : 639
- following : 2745
linkedin:
- url : https://linkedin.com/in/conor.gottlieb
- username : conor.gottlieb
- bio : Ullam odio omnis aut aut et fugit excepturi.
- followers : 4565
- following : 1453
tiktok:
- url : https://tiktok.com/@gottlieb1973
- username : gottlieb1973
- bio : Sapiente dolorum maxime impedit qui aut.
- followers : 3730
- following : 518
instagram:
- url : https://instagram.com/gottlieb1986
- username : gottlieb1986
- bio : Praesentium recusandae impedit recusandae amet. Excepturi sit nihil non odio eaque.
- followers : 3765
- following : 826
facebook:
- url : https://facebook.com/gottliebc
- username : gottliebc
- bio : Nobis dignissimos dolores enim nam sequi error.
- followers : 2723
- following : 2587