
Mastering SSH Remote IoT On Mac: A Comprehensive Guide For Tech Enthusiasts
So, you're diving into the world of SSH remote IoT on Mac? Well, buckle up because this ride is about to get real interesting. Whether you're a seasoned pro or just starting out, mastering SSH for remote IoT on your Mac can open doors to a whole new level of tech wizardry. In this guide, we'll break it down step by step, making sure you don't miss a beat.
SSH, or Secure Shell, is more than just a buzzword in the tech world. It's your secret weapon for securely connecting to remote devices over the internet. And when you throw IoT into the mix, well, you're talking about a powerful combination that can revolutionize how you manage and interact with smart devices.
But here's the thing, not all guides are created equal. Some are so packed with jargon that you end up more confused than when you started. Not this one. We're going to keep it real, break it down in plain English, and make sure you walk away with actionable knowledge. So, let's get to it.
- Hdhub4u Your Ultimate Guide To Entertainment And Beyond
- Mother Warmth Chapter 3 A Heartwarming Tale That Tugs At Your Heartstrings
Understanding SSH: The Backbone of Remote IoT
Let's start with the basics. SSH is like the superhero of secure connections. It's designed to give you a safe passage to remote devices, encrypting your data so no one can snoop on your activities. When it comes to IoT, SSH is your go-to method for managing devices remotely without compromising security.
Why SSH Matters in IoT
IoT devices are everywhere these days, from smart thermostats to industrial sensors. But managing these devices can be a challenge, especially when they're scattered across different locations. SSH comes to the rescue by providing a secure way to access and control these devices from anywhere in the world.
- SSH ensures secure communication between your Mac and IoT devices.
- It encrypts all data exchanges, keeping your information safe from prying eyes.
- With SSH, you can perform tasks like file transfers, system updates, and configuration changes remotely.
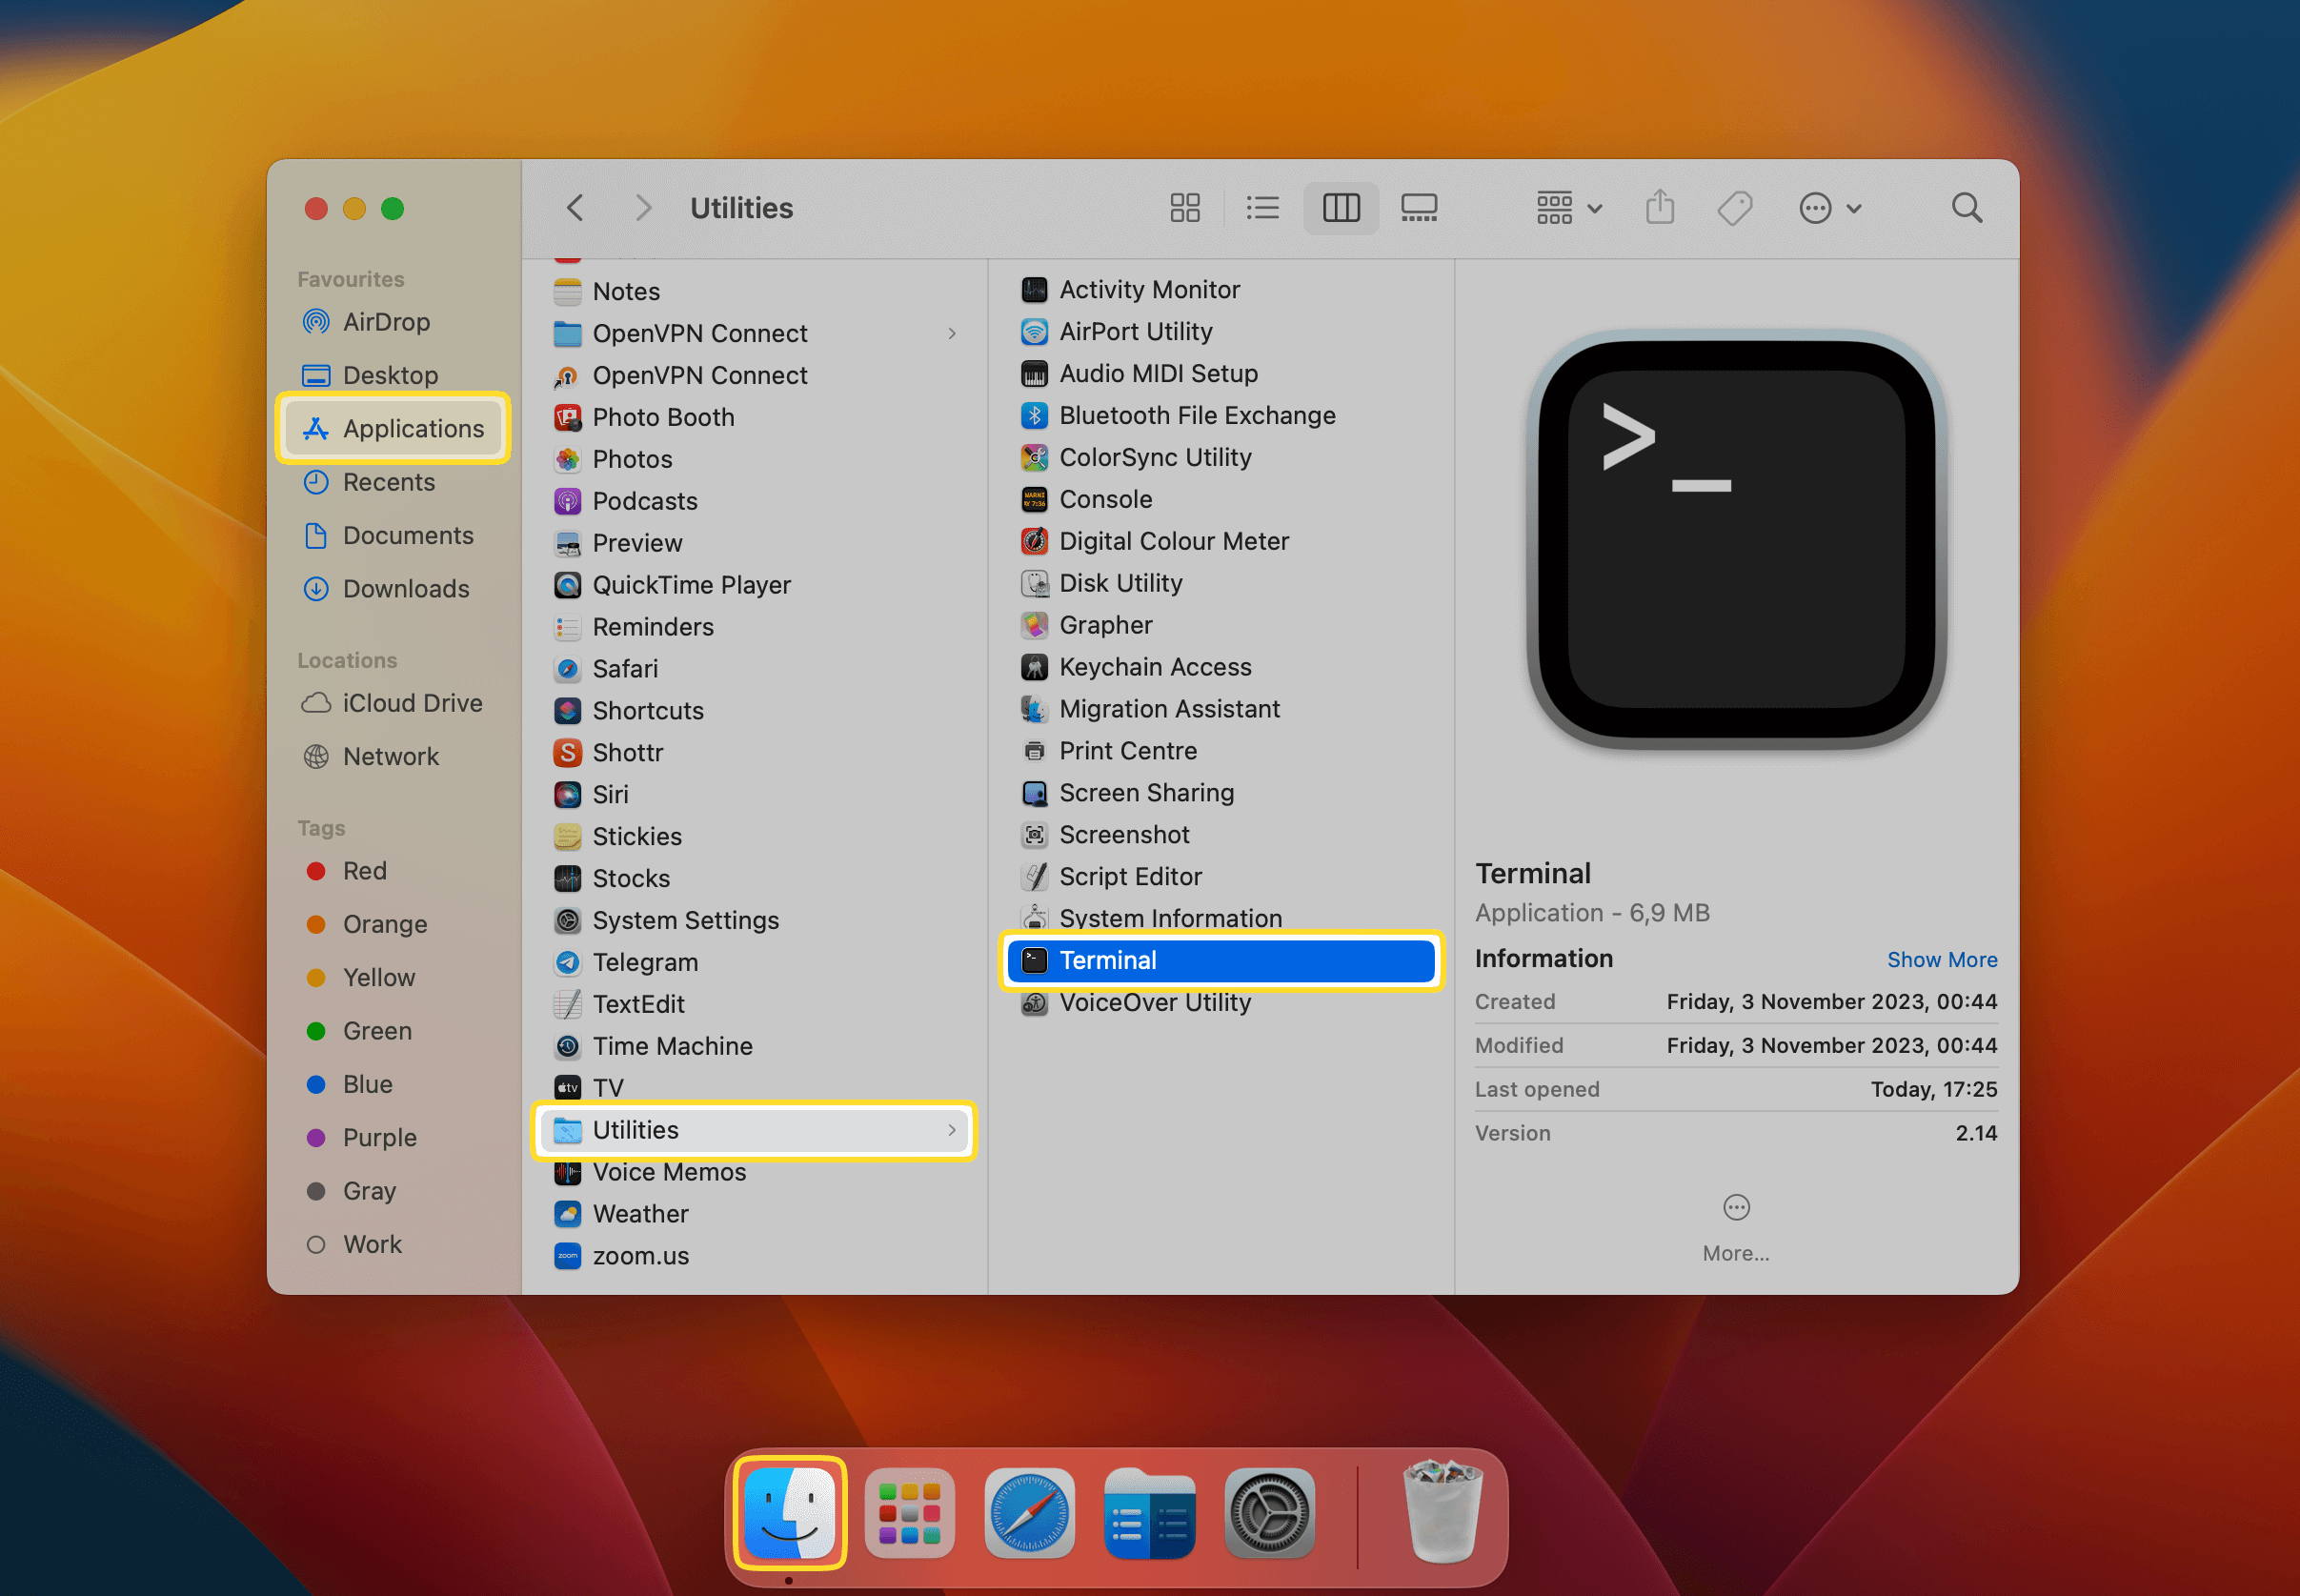
Setting Up SSH on Your Mac
Alright, now that you know why SSH is important, let's talk about setting it up on your Mac. Don't worry, it's not as complicated as it sounds. In fact, your Mac already has SSH built-in, so you just need to activate it.
- Laura Ingraham Husband The Inside Story You Wont Believe
- Streaming 18 Movies Online A Comprehensive Guide For Adults
Step 1: Enable SSH on macOS
To enable SSH on your Mac, follow these simple steps:
- Open System Preferences and head over to Sharing.
- Check the box next to Remote Login. This activates SSH on your Mac.
- Take note of your Mac's IP address, which you'll need later to connect to it remotely.
Step 2: Test the Connection
Before you dive into IoT devices, it's a good idea to test the SSH connection on your local network. Open Terminal on your Mac and type:
ssh username@your-mac-ip-address
Replace "username" with your Mac's username and "your-mac-ip-address" with the actual IP address. If everything is set up correctly, you should be able to log in without any issues.
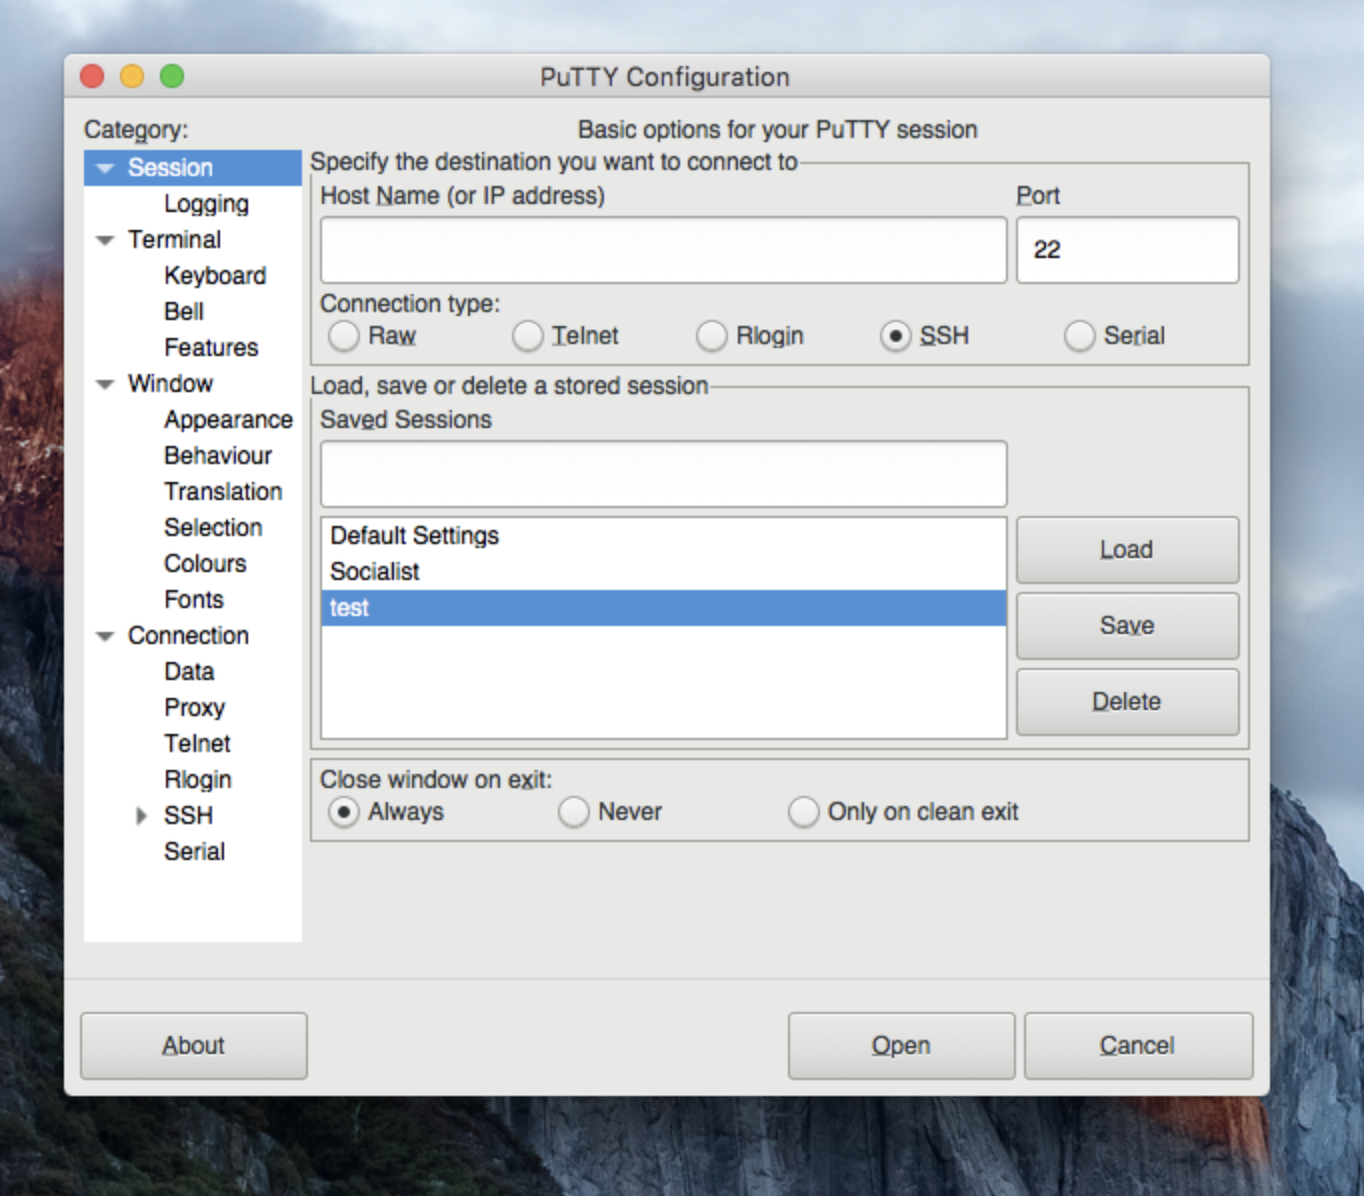
Connecting to Remote IoT Devices
Now that you've got SSH running on your Mac, it's time to connect to your IoT devices. This is where the real magic happens. But first, let's talk about what you'll need.
Requirements for SSH Remote IoT
- A Mac with SSH enabled.
- An IoT device with SSH support. Most modern IoT devices come with this feature.
- The IP address or hostname of your IoT device.
- Your device's username and password for authentication.
Step-by-Step Guide to Connecting
Connecting to your IoT device via SSH is a straightforward process. Here's how you do it:
- Open Terminal on your Mac.
- Type the following command: ssh username@iot-device-ip-address
- When prompted, enter your password. Note that your password won't be visible as you type it, but it's being entered correctly.
- Once connected, you'll have full access to your IoT device's command line interface.
Tips for Efficient SSH Remote IoT Management
Managing IoT devices remotely via SSH can be a breeze if you follow a few best practices. Here are some tips to help you stay organized and efficient:
- Use SSH keys for passwordless authentication. This saves time and adds an extra layer of security.
- Set up SSH tunnels for secure data transfers between your Mac and IoT devices.
- Regularly update your IoT devices to ensure they have the latest security patches.
- Monitor your SSH connections to detect any unauthorized access attempts.
Generating SSH Keys on Mac
SSH keys are like digital passports that allow you to log in to your devices without entering a password every time. Here's how to generate them on your Mac:
- Open Terminal and type: ssh-keygen -t rsa
- Press Enter to accept the default file location.
- Enter a passphrase when prompted. This adds an extra layer of security to your key.
- Copy your public key to your IoT device by running: ssh-copy-id username@iot-device-ip-address
Best Practices for Secure SSH Remote IoT
Security should always be at the forefront of your mind when working with SSH remote IoT. Here are some best practices to keep your connections safe:
- Change the default SSH port on your IoT devices to something less obvious.
- Limit SSH access to specific IP addresses to prevent unauthorized access.
- Disable root login via SSH to reduce the risk of brute-force attacks.
- Regularly review your SSH logs for any suspicious activity.
Advanced SSH Features for IoT Enthusiasts
Once you've mastered the basics, it's time to explore some advanced SSH features that can take your IoT management to the next level.
SSH Tunneling for IoT
SSH tunneling allows you to securely transfer data between your Mac and IoT devices. This is particularly useful when working with sensitive information or when you need to bypass firewalls.
SSH Configuration Files
Managing multiple SSH connections can get messy. That's where SSH configuration files come in handy. By creating a config file, you can store all your connection details in one place, making it easier to manage your IoT devices.
Troubleshooting Common SSH Issues
Even the best-laid plans can go awry sometimes. Here are some common SSH issues you might encounter and how to fix them:
- Connection Refused: Double-check the IP address and port number of your IoT device.
- Authentication Failed: Make sure you're using the correct username and password or SSH key.
- Timeout Errors: Ensure your network connection is stable and your firewall isn't blocking SSH traffic.
Conclusion: Take Your SSH Remote IoT Game to the Next Level
There you have it, a comprehensive guide to using SSH for remote IoT on your Mac. From setting up SSH to managing your devices securely, you now have all the tools you need to become a true IoT wizard. Remember, the key to success is staying organized, keeping your systems secure, and continuously learning.
So, what are you waiting for? Dive in, experiment, and let us know how it goes. Don't forget to share this article with your fellow tech enthusiasts and leave a comment below if you have any questions or tips of your own. Happy SSH-ing!
Table of Contents
- Understanding SSH: The Backbone of Remote IoT
- Setting Up SSH on Your Mac
- Connecting to Remote IoT Devices
- Tips for Efficient SSH Remote IoT Management
- Best Practices for Secure SSH Remote IoT
- Advanced SSH Features for IoT Enthusiasts
- Troubleshooting Common SSH Issues
- Conclusion: Take Your SSH Remote IoT Game to the Next Level
Article Recommendations
- Streaming 18 Movies Online A Comprehensive Guide For Adults
- Somali Hub Telegram Your Ultimate Guide To Discovering The Vibrant Somali Community Online

Detail Author:
- Name : Kathryne King
- Username : johnston.ashly
- Email : lindgren.malachi@yahoo.com
- Birthdate : 1987-10-12
- Address : 31615 Jade Neck Bereniceborough, NJ 18496-7461
- Phone : 430.512.9180
- Company : Hauck and Sons
- Job : Career Counselor
- Bio : Occaecati a et dolores cupiditate molestiae. Ullam commodi et ullam voluptates. Maiores accusamus facere est ipsa accusamus temporibus sed asperiores. Ut vitae quia ex nobis.
Socials
instagram:
- url : https://instagram.com/kendall.hills
- username : kendall.hills
- bio : Pariatur aut voluptatem dolor a. Voluptatem id sed voluptatem doloremque facilis ea quos.
- followers : 1581
- following : 2837
tiktok:
- url : https://tiktok.com/@hillsk
- username : hillsk
- bio : Iste qui numquam totam. Aut ut provident magni.
- followers : 2145
- following : 2353
facebook:
- url : https://facebook.com/hillsk
- username : hillsk
- bio : Excepturi consectetur quod illum repudiandae.
- followers : 2826
- following : 1385
twitter:
- url : https://twitter.com/kendallhills
- username : kendallhills
- bio : Unde maiores quaerat repudiandae deleniti. Nihil ut et rerum placeat. Ut et quibusdam consectetur quis hic.
- followers : 2180
- following : 2193